Filter information in the Inventory dialog
In addition to using the navigation tree for filtering items, you can set and use filters that determine which items are shown in the Inventory dialog.
Note: Using filters only affects the way
you see the Inventory dialog, so you cannot accidentally change other users' settings.
If the Open to Filter Selection checkbox has been selected in , the <Module> Filters dialog opens automatically when you open a job.
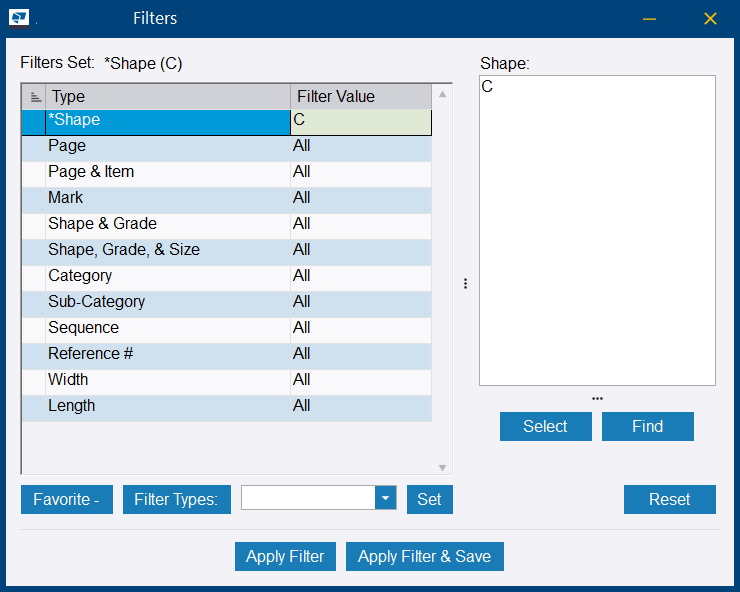
If the Open to Filter Selection checkbox has not been selected, open the <Module> Filters dialog as follows:
-
On the menu, select Filter.
The <Module> Filters dialog opens.
The <Module> Filters dialog closes, and the items are filtered according to the settings you made.
To display all information again, click Clear Filters in the upper-left corner.
In the selection dialog, you also have a quick filter with a dropdown menu and search.

To create and save commonly used filters, see Module-wide filters.