Add and modify text in drawings
You can add several lines of text in a text object, and use word wrapping if you like. For the text, you can select the desired color, height, font, angle, frame, and leader line arrow type, and align the text as required. You can also modify the text and its properties after adding the text.
Add text in an open drawing
-
You can load predefined text
properties and search for properties:

-
Add a frame around the text and select the frame color.
To add a frame, select one of the following frame options:
 Rectangular
 Line
Line Round
Round Circle
 Diamond
 Hexagon
 Triangle
 Sharpened
 -
In
Background, select one of the following:
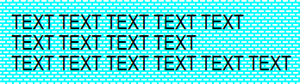
Opaque hides the area in the drawing that is covered by the text:
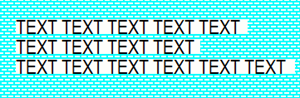
Transparent shows the area in the drawing that is covered by the text so that the linework is shown:
-
Select the leader line
type and the leader line arrow type, height, and length.
The leader line options are:
 No leader
line
No leader
line Leader
line
Leader
line Along line or
leader line
Along line or
leader line Along
line
Along
line Inside part along
part
Inside part along
part -
Adjust the placing
settings:
- Select one of the Alignment options: Left, Center, Right or Leader line.
- In Rotation, change the rotation of the text.
- To exactly place the text in the position you pick, and keep it there,
set the Placing method button to
Fixed.
Free allows Tekla Structures to search for the first suitable location for the text.
-
In Position, define the areas where Tekla Structures searches for a position to place the text. This option can only be adjusted when Placing method is set to Free.

-

Distance s (search margin) is the empty margin that you want to leave around the text.
Distance d min (minimum distance) is the minimum distance of the text from the part.
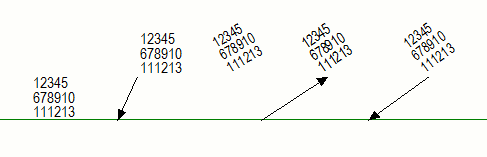
Examples
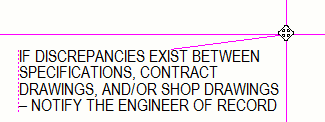
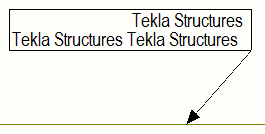
See below for examples of the different text options. From left: Text; With leader line; Along line; Along line, arrow at end; and Along line, arrow at start.
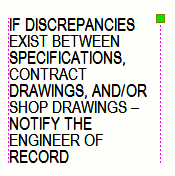
The text object gets a handle when word wrapping is activated, and you can drag the handle to change the text object size:
In the following example, the text is aligned to the leader line start:
Tip:
In addition to using the text tool, you can add texts as links from .txt or .rtf files. This allows you to use more sophisticated formatting of the text, and add tables, for example. For more information, see Add links to rich text files.
Modify text properties
- To modify the text properties, click the text object in the drawing. If the property pane is not open, double-click the text. If you want to modify several texts, hold down Ctrl and click the text objects.
- Modify the properties.
If you have selected several texts, the properties that have different values have the text Varies. You can select another value from the list.
- Click Modify to apply the changes in all selected texts.
Delete unnecessary texts
- To delete a text object, select the object and press Delete on the keyboard, or right-click and select Delete.