Atek Steel Solutions Integration
Setup Tekla PowerFab/Atek Steel Solutions Integration
Setup in Tekla PowerFab
To enable the Tekla PowerFab/Steel Solutions integration, in PowerFab select "Atek Steel Solutions" from Maintenance → Integration Settings.
In the settings window, check the box to "Enable Atek Steel Solutions":

Permissions
You can set up a user in Tekla PowerFab specifically for Steel Solutions, either as a Tekla PowerFab user with a 'local' connection to PowerFab (PowerFab must be installed on the same computer as Steel Solutions with a connection through a local port; default is 3306) or as an External User (TPF installation is not required; SS connects through a remote port --- default is 9154). The permissions required are "Allow Tekla PowerFab Login" as well as those checked in these examples.
Setup in Steel Solutions
In Steel Solutions, click Settings then GENERAL.
Select the Tekla PowerFab tab at the top right.
Check the box to "Allow feedback", and fill out the information in the "Login" box. "Local Tekla PowerFab Path:" is the directory for your local PowerFab installation; this is not required for the recommended Remote connectoin. The other settings are so Steel Solutions can connect to your PowerFab server. Once your PowerFab server information is filled in, click the Test Connection button to make sure it's set up correctly:

Sending a Work Order
A work order is a request for nesting and/or multing that includes the CNC files to be cut, as well as the available and orderable stock on which to nest or mult. To have Steel Solutions perform the Nest, export your Combining run to Steel Solutions.
To create this work order from PowerFab, open Combining from the Combining, Estimating, Production Control Requisition or Purchase Order Modules. Then Choose "Combine" from the Module drop-down menu.
Choose "Nest" then click "Optimizations" on the bottom left of the Filters screen.
Set the Plate Nesting Software on the Plate Nesting Settings tab to "SteelSolutions".

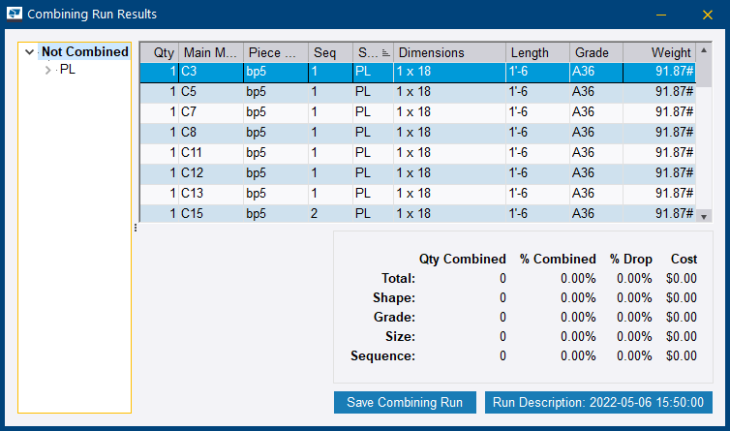
When the Combining run is created, all parts will show as "Not Combined".

Save the combining run.
Export these parts, and the stock available for combining to Steel Solutions by choosing "Combining Run"->"Export Parts for Nesting"->"Export to Steel Solutions"
The following is an example workflow in Steel Solutions illustrating the basics of creating a nest.
In Steel Solutions under Integration → Tekla PowerFab select Load Files. When prompted select and open the .xml file created by Tekla PowerFab.
Once the import is complete, select the Nesting tab. Plates to cut will be displayed on the left. Available inventory is on the right.

Click the one of the "Auto Nest" buttons:
Set the Nesting Options as desired and click "Auto-Nest":
Note that Steel Solutions has automatically generated a crop line to create a remnant to send back to PowerFab.

To save the project go to File → Save Project. Select a Path and enter a Project Name for the export . . .
To send to PowerFab, go back to Integration → Tekla PowerFab and select "Send all nest data to Tekla PowerFab".
Back in PowerFab, close and reopen your combining run. If everything ran it should be empty.