Example: Arrange text boxes and labels in a custom component dialog box
This example shows how to arrange the text boxes and labels around a list in the custom component dialog box. You can do this either in the custom component dialog editor or by editing the input (.inp) file manually.
In the beginning of this example the dialog box looks like the following:

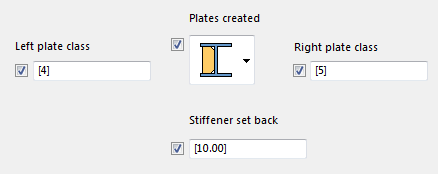
Arrange the dialog box elements more nicely, in the following manner:
Arrange the elements by using the dialog editor
- Create a custom stiffener detail with all the needed variables that control the creation of stiffener plates.
-
Open the stiffener dialog box for editing.
- In the model, select the custom stiffener detail.
- Right-click and select Edit Custom Component Dialog Box.
- Drag the Plates created label above the list with images.
- Drag the Left plate class label and the corresponding text box to the left side of the list.
- Drag the Right plate class label and the corresponding text box to the right side of the list.
- Drag the Stiffener set back label and the corresponding text box underneath the list.
- In the dialog editor, click to save the changes.
- Close and reopen the model for the change to take effect.
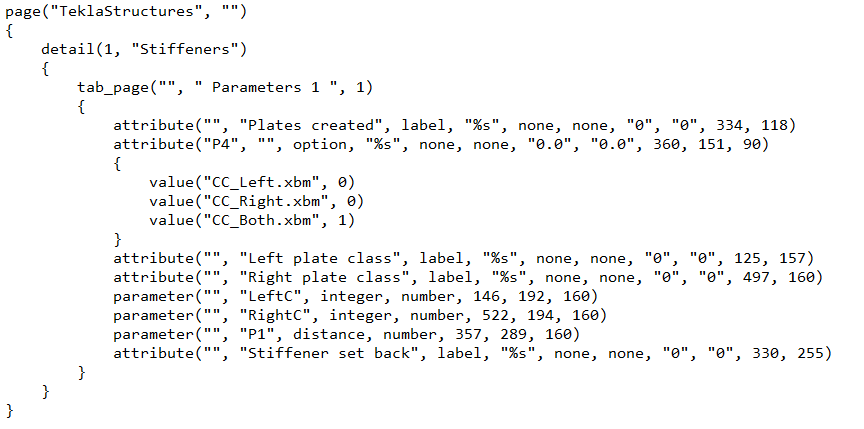
Arrange the elements by editing the .inp file
-
Edit the file as follows: