Selecting the correct graphics card for Tekla Structures in Windows
2022
Tekla Structures
2021
Tekla Structures
2020
Tekla Structures
2019i
Tekla Structures
2019
Tekla Structures
2018i
Tekla Structures
2018
Tekla Structures
2023
Tekla Structures
Environment
Not environment-specific
Many computers, especially laptops, have more than one graphics card available. Such systems often default applications to use the less powerful graphics card to save power. To ensure the best possible performance, make sure that Tekla Structures always uses the most powerful graphics card on your computer.
If you have a capable graphics card, but DirectX rendering seems to be slower than OpenGL rendering, your computer is most likely not using the correct graphics card for Tekla Structures.
To check which graphics card is being used, see How to check the graphics card used for Tekla Structures.
Note that running applications on a high-performance graphics card can significantly reduce the time a laptop can run on battery power.
These instructions are valid for Windows 10 version 1709 or newer. If you have an older version of Windows or if you want more configuration options, use the settings software provided by the graphics card manufacturer. We provide instructions for Nvida cards in this support arcticle.
- Click the Windows start button, start typing Graphics settings and click to open the app when it is listed.
- Make sure Desktop app is selected and click Browse.
Image
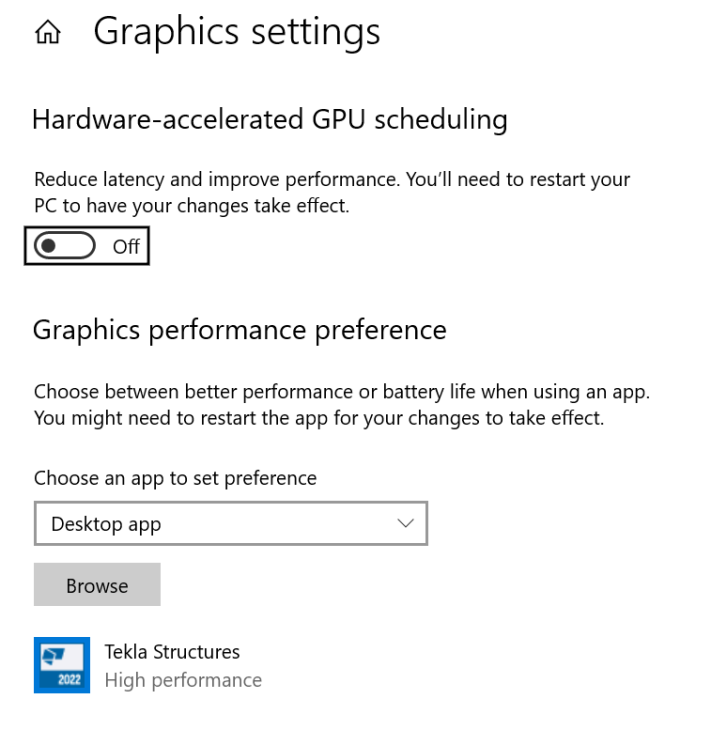
- Navigate to Tekla Structures installation folder (by default a version-specific subfolder under
c:\Program Files\Tekla Structures), select the file\nt\bin\TeklaStructures.exe, and click Add. - Click the Options button for Tekla Structures.
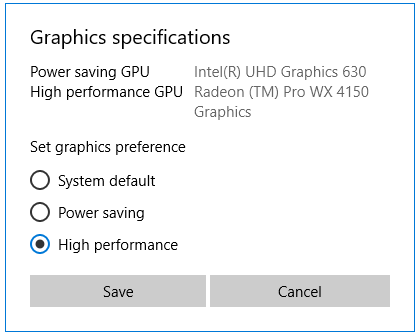
- Verify the graphics cards listed for the options are correct, select High performance and click Save.
Image
- Add each installed version of Tekla Structures in the same way. When you install a new version of Tekla Structures, you need to repeat the same steps again for the new version.